When sliding doors and windows become difficult to open, forcing them can damage rollers, tracks, handles, or locking components—and turn routine maintenance into costly repairs.
For after-sales maintenance teams, the first step is identifying whether resistance comes from debris, worn rollers, misalignment, damaged seals, or a fault in the locking mechanism.
Start with a controlled operating check, then clean and inspect the running surfaces before adjusting hardware. Replace damaged components when cleaning cannot restore reliable movement.
This guide explains how to diagnose resistance, select suitable cleaning products and lubricants, make manufacturer-approved adjustments, and verify repairs while reducing repeat service visits.
Identify where the resistance occurs before starting repairs
The most useful diagnostic clue is where resistance occurs: throughout travel, at one particular position, near final closure, or only when operating the handle.
Ask when the problem started and whether it followed construction work, impact, severe weather, or previous servicing. Sudden changes often point toward a specific cause.
Release the lock fully and move the panel slowly using normal operating pressure. Stop if the frame twists, glass shifts, or hardware makes grinding noises.
Observe the panel edges, running track, and closing jamb. Uneven clearances, scrape marks, loose handles, or visible wobbling help distinguish alignment problems from contaminated hardware.
Use the following symptoms to choose your next inspection step. Treat them as diagnostic clues, because several defects can produce similar operating behavior during servicing.
Record the initial symptoms before changing anything. A short video and photographs of clearances provide useful evidence for warranty decisions and later comparison after repairs.
Check the system type and make the work area safe
Confirm whether the unit uses bottom rollers, overhead hangers, sliding shoes, or a lift-and-slide mechanism. Different systems require different inspection points and adjustment procedures.
For lift-and-slide doors, confirm the handle reaches its specified opening position. Incomplete lifting can leave seals engaged and make an otherwise serviceable panel difficult to move.
Locate the product label, model reference, installation instructions, and service documentation. Adjustment direction, permissible clearances, removal methods, and lubricant requirements vary between manufacturers and models.
Check anti-lift blocks, travel stops, restrictors, and retaining devices before attempting panel removal. These components can prevent lifting even when the panel appears mechanically free.
Large glazed panels may require multiple trained technicians and rated handling equipment. Follow the specified lifting method; never support panel weight through handles or locks.
For powered sliding systems, isolate power according to the service procedure before mechanical work. Restore power only when tools are removed and required safeguards are reinstated.
Escalate cracked glass, loose frames, unstable panels, or damaged retention hardware immediately. Routine cleaning and adjustment should proceed only after the assembly is safely supported.
Clean the track before changing roller settings
Loose grit is a common cause of difficult operation, especially after installation or nearby building work. Vacuum accessible channels before introducing liquid cleaners into them.
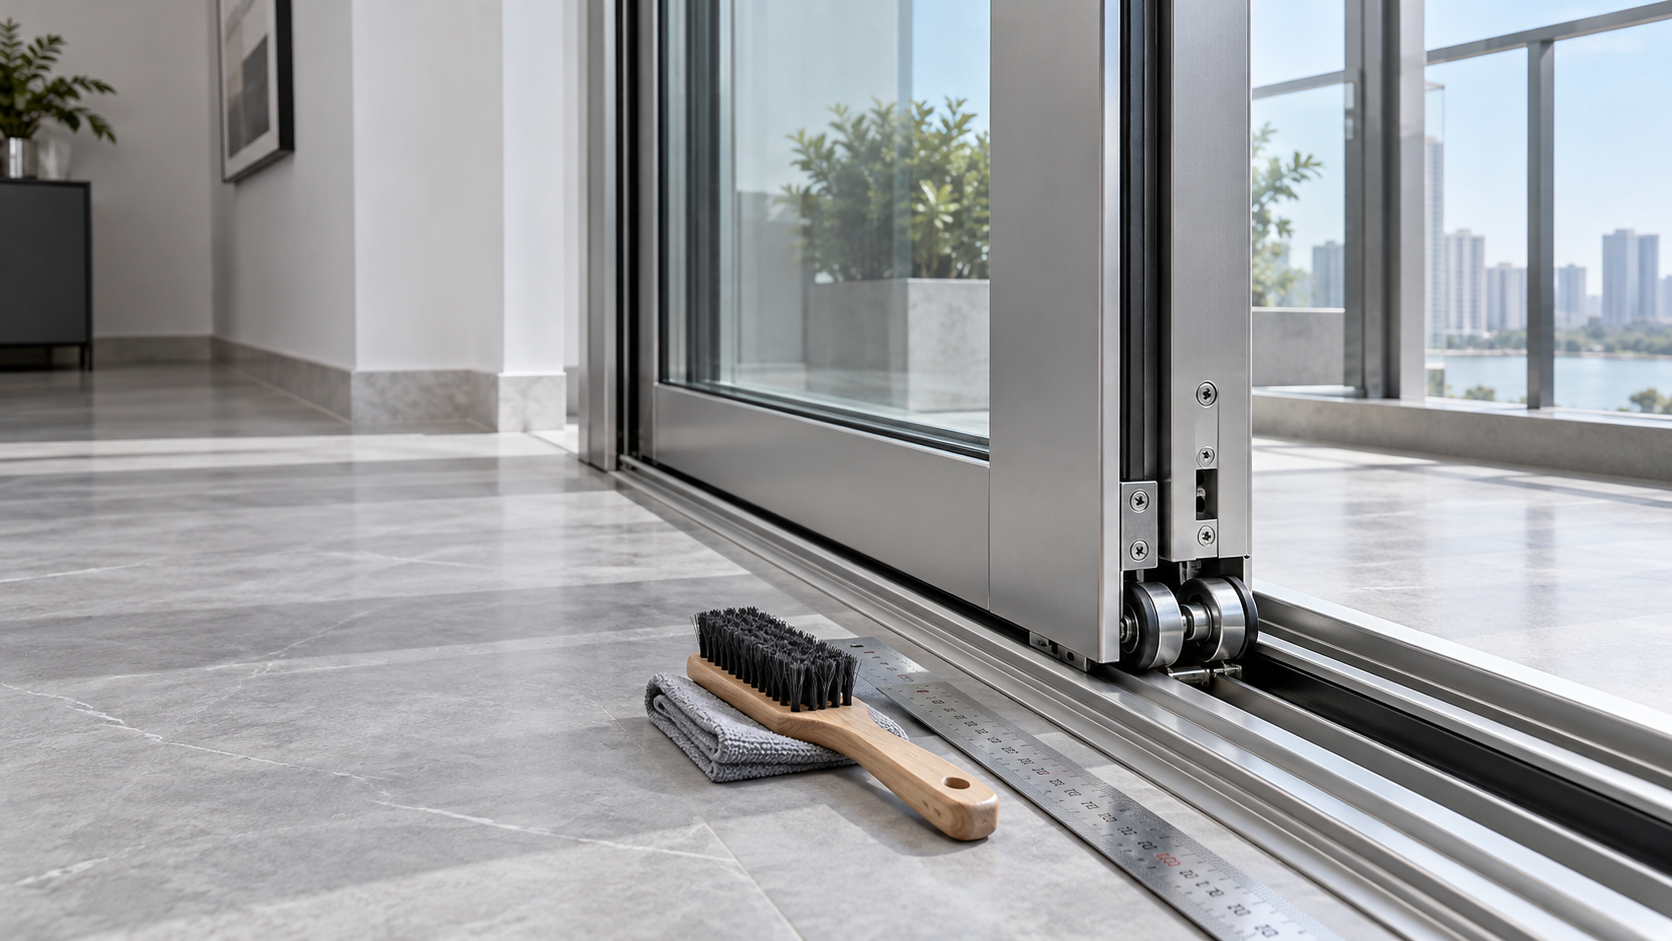
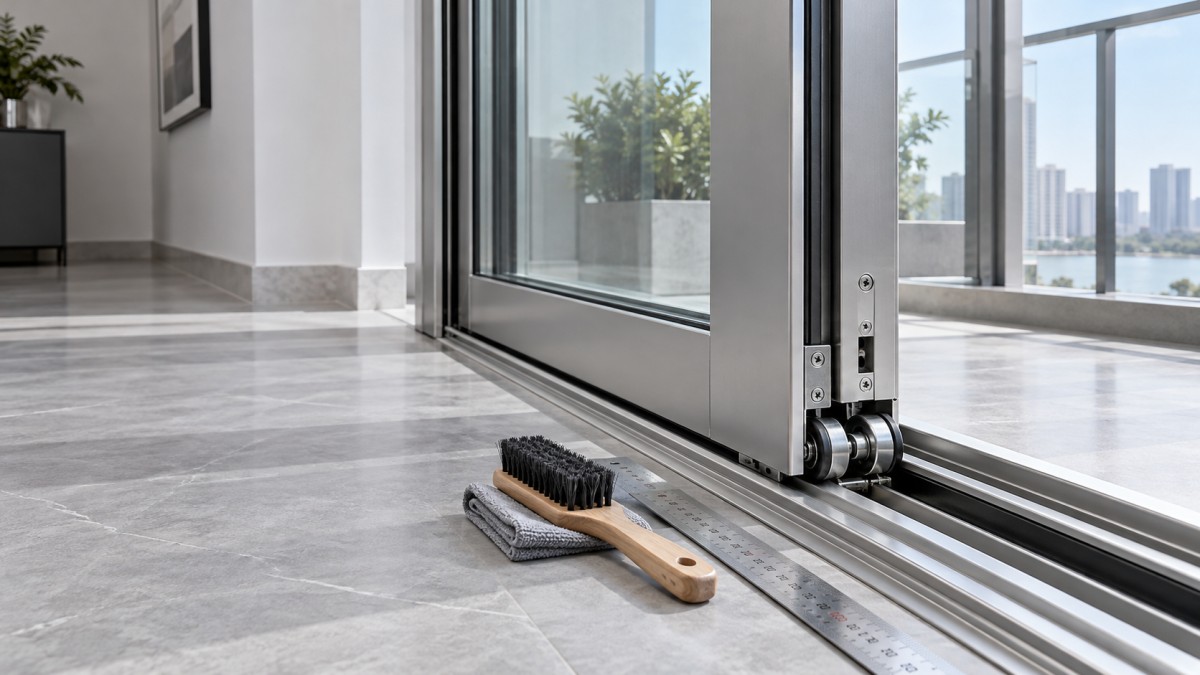
Use a soft brush to dislodge compacted dirt around track corners and accessible roller openings. Avoid metal tools that can scratch coatings or damage seals.
Wipe accessible surfaces with a damp cloth and a mild cleaner approved for the frame finish. Remove residue carefully without flooding the sill or hardware.
Avoid abrasive pads, aggressive solvents, and acidic cleaners unless expressly approved. These products can damage protective finishes, plastics, seal materials, and adjacent glazing components permanently.
Inspect drainage slots while cleaning the sill. Remove accessible blockages without enlarging openings, and avoid pushing debris deeper into concealed drainage paths within the frame.
Check for paint, plaster, adhesive, or protective film crossing the running surface. Use manufacturer-approved removal methods; hardened deposits may need specialist treatment to protect finishes.
Dry the cleaned area and test movement again. If operation improves substantially, inspect for remaining contamination before assuming the rollers need adjustment or replacement work.
Inspect rollers and sliding hardware when cleaning is insufficient
If the panel remains heavy, inspect accessible rollers or sliding shoes for wear, cracking, flat spots, seized bearings, and uneven contact with the running surface.
A roller can appear intact while its bearing has seized. Where the service procedure permits access, check whether it rotates freely without grinding or excessive play.
Repeated bumping can indicate a flat roller or localized track damage. Compare the movement pattern with the running surface before deciding which component needs replacement.
Inspect brackets, axles, housings, and fastening points as well as wheels. A new wheel will not correct a distorted carrier or a loose supporting assembly.
For overhead systems, inspect the hanger track and suspension hardware according to the service manual. Bottom-track adjustment advice does not apply to top-hung panel assemblies.
Replace hardware with confirmed compatible parts, checking dimensions, mounting details, adjustment range, and load capacity. Similar appearance alone does not establish suitability for the application.
Where paired supports share the panel load, follow manufacturer guidance on replacement combinations. Unequal wear or incompatible components can produce uneven loading and recurring misalignment.
Adjust alignment without creating new sealing or locking problems
Adjust only after the running surfaces are clean and the support hardware is serviceable. Raising a panel to compensate for damaged rollers usually provides temporary relief.
Mark the starting position or record each adjustment before turning screws. Make small changes within the manufacturer’s limits, checking movement and clearances after every change.
Assess the panel against the closing jamb and adjacent frame. Consistent clearances are useful indicators, but the specified installation geometry determines the correct final position.
Do not assume every adjustment screw turns the same way or controls the same movement. Some systems separate height, lateral position, and sealing pressure adjustments.
After changing panel height, check lock engagement, anti-lift protection, and weatherseal contact. Smooth travel alone does not confirm that the assembly is correctly adjusted overall.
If acceptable alignment cannot be achieved within the permitted range, investigate frame distortion, installation faults, or worn hardware. Further adjustment can reduce retention or sealing performance.
Choose lubrication by component, not by habit
Lubrication is appropriate only where the manufacturer specifies it. Some sealed bearings, polymer sliding components, and running surfaces require no additional lubricant during routine maintenance.
Applying grease indiscriminately to exposed tracks can collect grit and increase resistance. Clean first, then identify the component that actually needs lubrication before selecting a product.
For approved applications, check lubricant compatibility with metals, finishes, plastics, and seals. Silicone-based or dry-film products suit some systems, but neither is a universal recommendation.
Use only the specified quantity and application points, keeping overspray away from glass and adjacent finishes. Wipe away excess product before testing the panel again.
Do not treat a general-purpose penetrating spray as a permanent solution for worn bearings. Temporary improvement can mask deterioration without restoring reliable load support or movement.
If lubricant requirements are unclear, obtain guidance from the supplier using the exact model and hardware reference. Guessing can complicate warranty assessment and future maintenance.
Check seals and locks when resistance occurs near closure
When movement is smooth until the final closing stage, inspect weatherseals for displaced sections, folded lips, hardened material, or an incorrect replacement profile causing friction.
Brush seals should contact their mating surfaces as designed without bunching or excessive drag. Check corners and joints, where displaced material can obstruct panel travel.
Replace damaged seals with the specified profile and material. A thicker substitute may increase friction, prevent full closure, or change drainage and weather resistance performance.
Separate movement problems from lock problems by checking operation with the locking points disengaged. Follow any interlock restrictions; some mechanisms should not operate while open.
If the handle operates normally when disengaged but stiffens during locking, inspect keeper alignment and panel position. Adjust only within the manufacturer’s stated service limits.
A handle that remains stiff in the permitted unloaded test may indicate internal mechanism damage. Inspect the drive components before moving keepers to compensate unnecessarily.
Recognize when the track or frame needs specialist repair
A dented rail, loose track insert, or corroded running surface can cause repeat failures even after roller replacement. Inspect the full travel path under good lighting.
Check whether visible damage corresponds with the resistance point. Also inspect projecting screws, loose end stops, and displaced inserts that could obstruct movement or damage rollers.
Use a level or other suitable measuring equipment where the installation procedure requires it. Frame bowing or sill deflection may indicate inadequate support or building movement.
Do not hammer rails straight, grind running surfaces, or add improvised packing without an approved repair procedure. These changes can alter load support and drainage.
Use a manufacturer-approved track insert or repair component only when compatibility is confirmed. Check that the repair preserves clearances, panel retention, and the specified operating geometry.
Refer structural distortion, recurring frame movement, or extensive corrosion for specialist assessment. Hardware adjustments cannot reliably overcome a support structure that continues moving under load.
Verify the repair and prevent repeat service visits
Cycle the panel through its complete travel several times, checking opening, closing, and locking. Confirm that movement stays consistent and no scraping or grinding returns.
Verify retention devices, stops, restrictors, drainage openings, and seal seating before handover. For powered units, complete the manufacturer’s required functional and safety checks after servicing.
Record replaced parts, adjustment positions, cleaning products, lubricants, and remaining observations. Give the customer a maintenance schedule suited to local dust, salt exposure, and usage.
Successful repairs to sliding doors and windows follow a clear sequence: diagnose resistance, clean running surfaces, inspect hardware, correct alignment, and verify complete operating performance.
If smooth movement requires excessive adjustment or repeated lubrication, investigate the underlying defect. Reliable service restores easy operation while preserving secure locking, effective sealing, and retention.