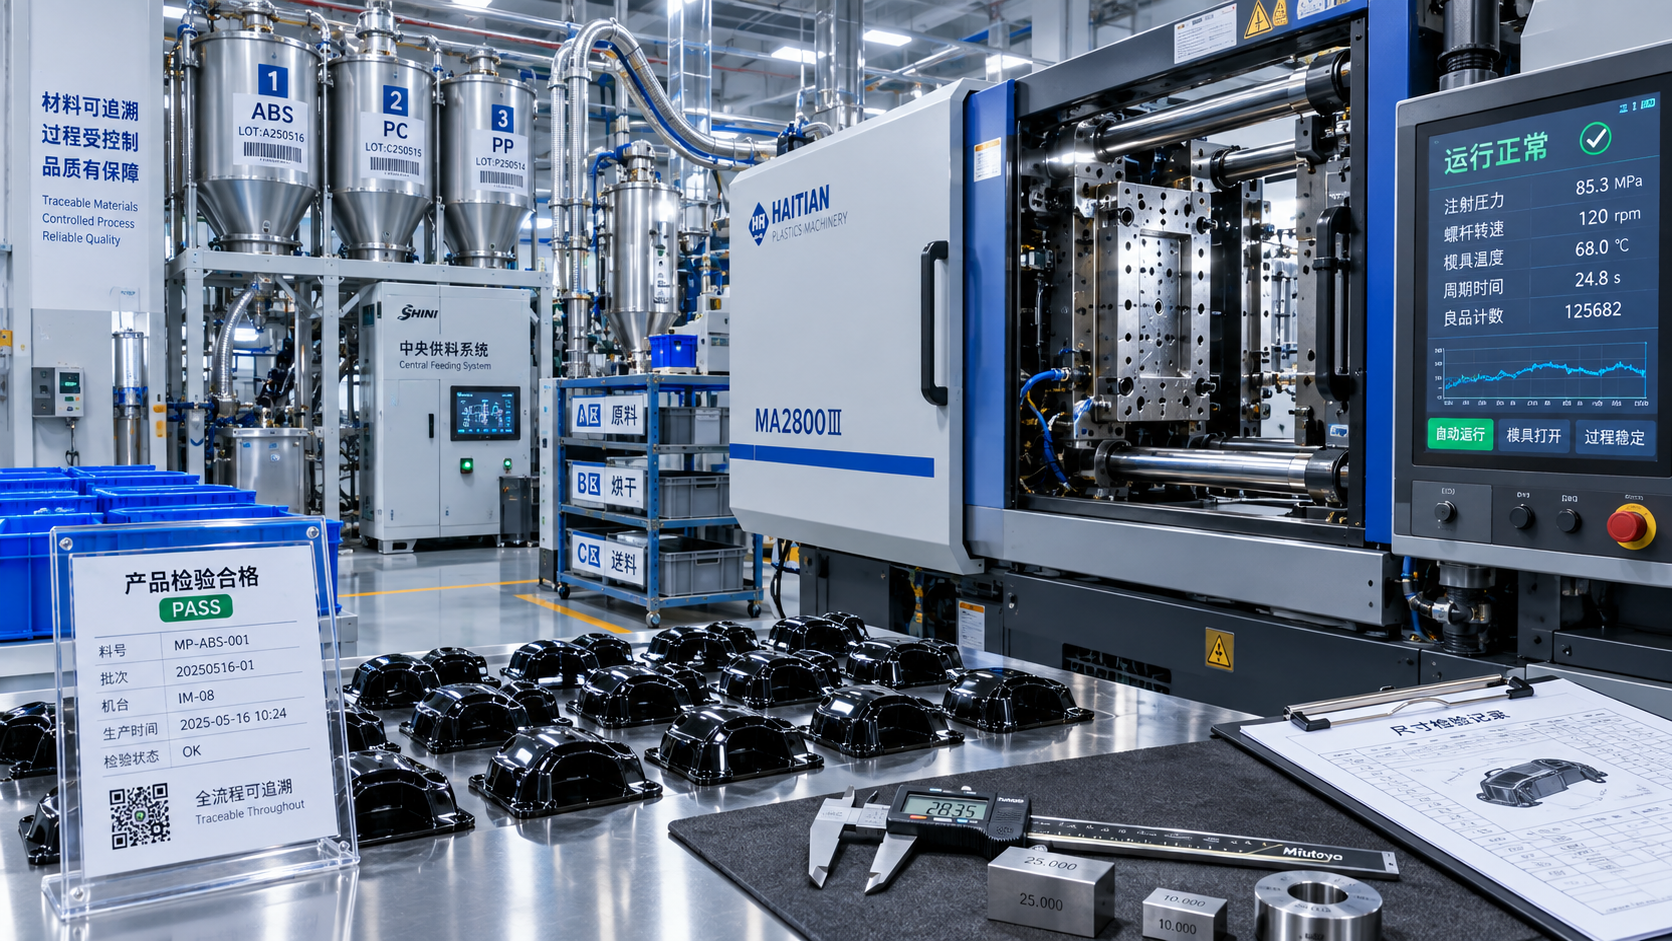
Injection Molding Defects and How to Prevent Them
Author
Date Published
Reading Time
Injection Molding Defects and How to Prevent Them
Injection molding defects can quietly erode yield, raise costs, and trigger downstream complaints. In high-volume production, even a small defect rate can become a serious operational problem.
That is why injection molding control is not only about appearance. It also affects dimensional stability, assembly fit, product safety, and long-term field performance.
In practice, most injection molding defects come from a combination of material behavior, mold design, machine settings, and inconsistent process discipline.
The good news is that many problems are predictable. Once the pattern is understood, prevention becomes faster, cheaper, and much more reliable.
Common Injection Molding Defects
Several injection molding defects appear again and again across industries. Each one leaves a different signal on the part and points to a different process weakness.
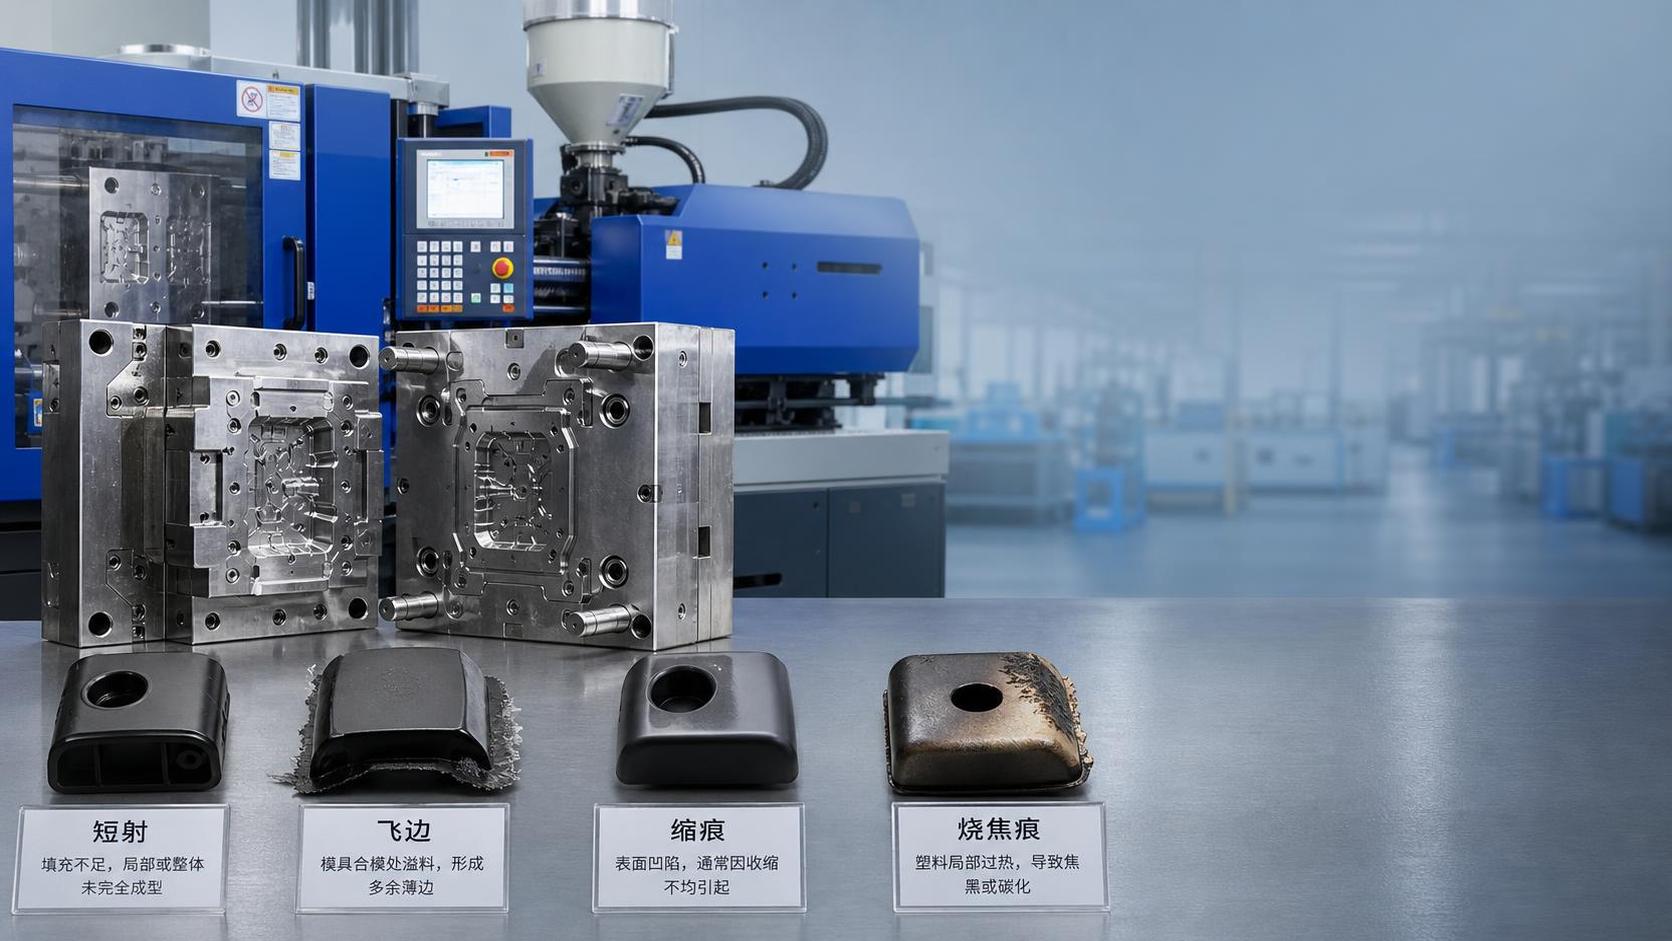
1. Short Shots
A short shot happens when the cavity does not fill completely. Missing edges, thin walls, or incomplete features are the usual signs.
Typical causes include low injection pressure, cold material, poor venting, or gates that restrict flow too early.
2. Flash
Flash appears as thin excess material along parting lines or ejector areas. It often signals poor sealing inside the mold.
In injection molding, flash is commonly linked to excessive pressure, worn mold surfaces, or insufficient clamping force.
3. Sink Marks and Voids
Sink marks show up as shallow depressions, usually near thick sections or ribs. Voids form internally and may not be visible at first.
Both issues usually point to uneven cooling, poor packing, or wall sections that are too thick for stable injection molding.
Surface Defects That Create Quality Risks
Surface flaws often drive rejection first because they are easy to see. But they can also indicate deeper process instability.
4. Burn Marks
Burn marks look like black or brown discoloration, usually at the end of flow paths. Trapped gas is a frequent cause.
When air cannot escape, compression heats it rapidly. In injection molding, that can damage resin and weaken local structure.
5. Flow Lines and Weld Lines
Flow lines appear as visible streaks. Weld lines form where two melt fronts meet and fail to bond strongly.
These injection molding defects often result from low melt temperature, slow fill speed, or weak gate positioning.
6. Silver Streaks and Splay
Silver streaks usually trace moisture, contamination, or resin degradation. They can spread quickly when drying control is inconsistent.
This is a common injection molding warning sign in hygroscopic materials, especially when handling rules are not followed closely.
Root Causes Behind Injection Molding Defects
Most recurring injection molding problems can be traced to four control points. Looking at them together usually reveals the real cause faster.
- Material: wrong moisture level, contamination, unstable batch quality, or resin not suited to the application.
- Mold: poor venting, weak cooling balance, worn shutoffs, or gate design that disturbs melt flow.
- Machine: incorrect barrel temperature, poor screw recovery, unstable pressure profile, or weak clamp performance.
- Method: uncontrolled setup changes, weak inspection discipline, and missing reaction plans for abnormal trends.
From a risk perspective, random adjustment is often the bigger issue. It masks root causes and makes injection molding results harder to repeat.
Practical Prevention Measures
Preventing injection molding defects starts with process discipline. Stable production usually comes from routine control, not heroic troubleshooting.
- Standardize resin drying, storage, and line-side handling. Moisture drift creates avoidable variation.
- Lock critical parameters after validation. Control melt temperature, injection speed, pack pressure, and cooling time.
- Inspect molds on a preventive schedule. Vent blockage and wear can quickly turn stable injection molding into scrap.
- Use first-piece approval and trend checks during every shift. Early signals are easier to correct.
- Link visual defects to dimensional and functional checks. Some cosmetic issues also point to hidden structural weakness.
In real operations, the best results come when process, maintenance, and inspection teams review injection molding data together.
A Simple Defect Response Table
Final Takeaway
Injection molding defects are rarely random. They usually reflect a control gap somewhere in material, tooling, equipment, or method.
A practical injection molding strategy focuses on early detection, validated settings, and disciplined root cause review. That approach reduces scrap and supports safer, more reliable output.
When defect patterns are tracked consistently, teams can prevent repeat failures, protect product quality, and make better production decisions with less guesswork.
Technical Specifications
- How to test melt flow consistency in batches of recycled plasticsAuthor :Polymers & Rubber Editorial Team
- When does a cast resin transformer need high-altitude derating?Author :Electrical Components Editorial Team
- How to verify Global Industrial Insights sourcing informationAuthor :Industrial Machinery Editorial Team
Expert Insights

Chief Security Architect
Dr. Thorne specializes in the intersection of structural engineering and digital resilience. He has advised three G7 governments on industrial infrastructure security.