How flat should the subfloor be for large format porcelain tiles?
Author
Date Published
Reading Time
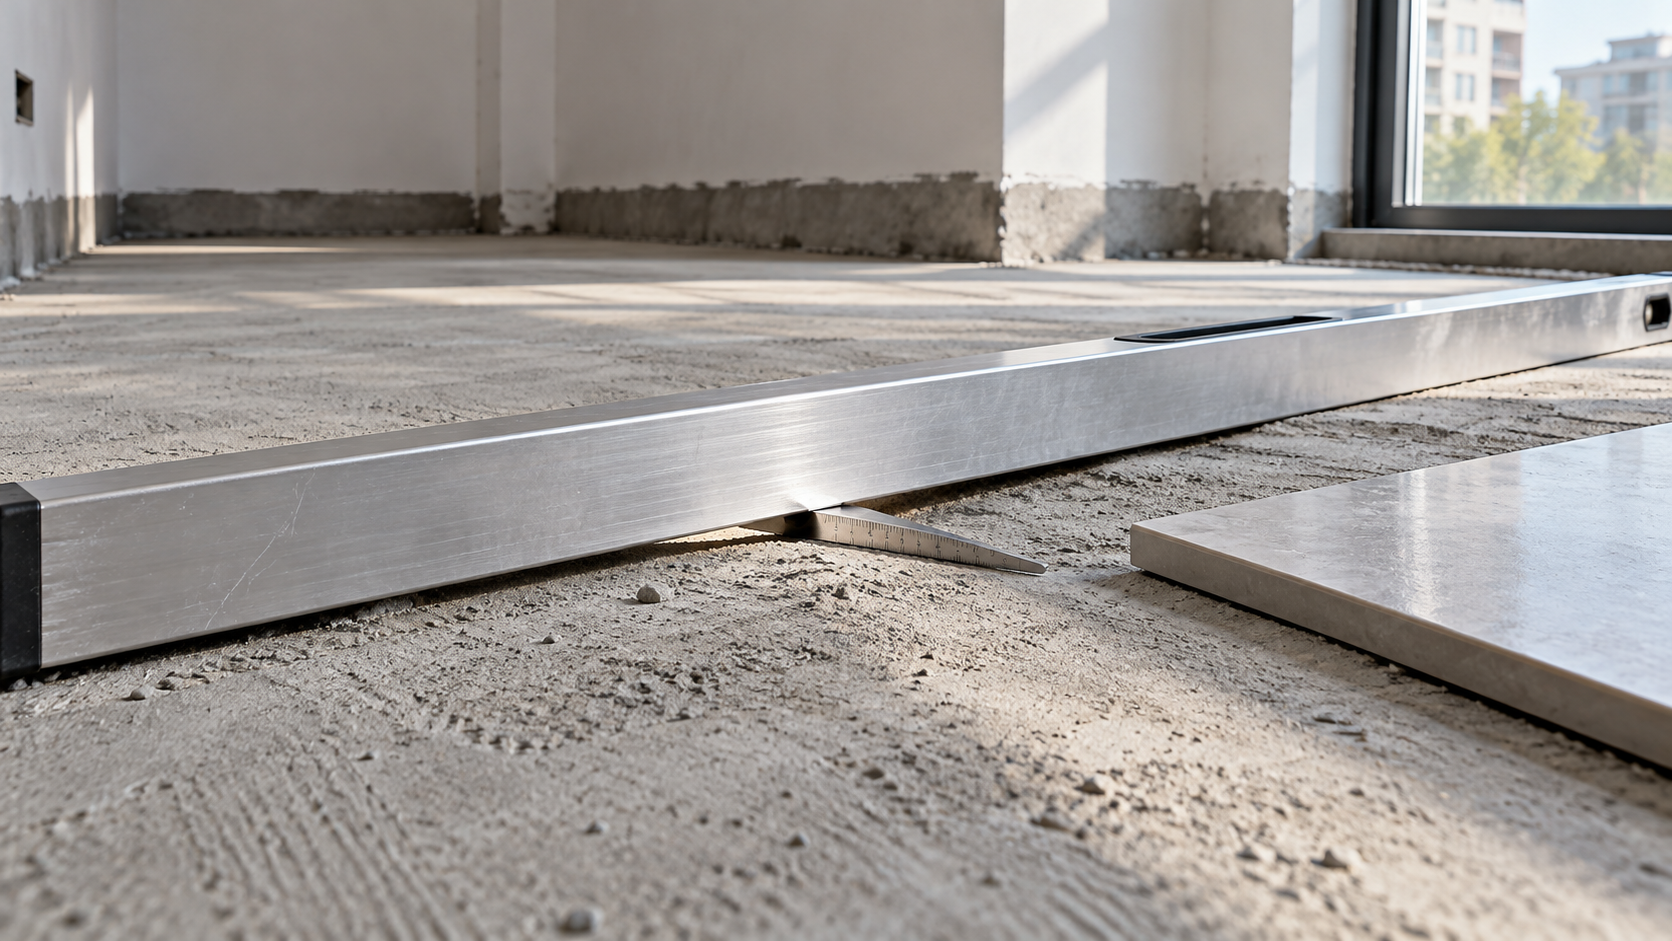
For large format porcelain tiles with at least one edge 15 inches or longer, the substrate should generally have no more than 1/8 inch of variation in 10 feet and 1/16 inch in 2 feet, measured from the high points, under ANSI A108.02. Both limits matter: a floor can pass the longer check and still contain a short ridge that disrupts tile installation.
These are flatness requirements, not a requirement for the floor to be perfectly horizontal. Before installation begins, the practical task is to identify high spots, depressions, and abrupt changes, then correct them using a method compatible with the floor assembly. Trying to compensate while setting tile makes adhesive coverage and finished alignment harder to control.
What the flatness tolerance means on site
The tolerance describes how far the substrate departs from a plane over a specified distance. With a suitable straightedge resting on high points, the gaps beneath it reveal depressions. Moving the straightedge across the floor also exposes ridges, humps, and changes around patched areas.
The two checks work together. A broad hollow may become obvious only under the longer straightedge, while a narrow ridge can cause a tile to rock despite acceptable surrounding elevations. Checking only one direction can also miss a problem that becomes apparent when a tile crosses it diagonally.
Apply these requirements to the surface that will receive the tile. If the assembly includes an underlayment or membrane, the original slab inspection is only an earlier checkpoint. The completed receiving surface must also be suitable for installation. Project specifications and the selected tile system may require tighter preparation, particularly for very large panels.
A flat floor can still slope
Flatness describes surface consistency; levelness describes orientation to horizontal. A uniformly sloped shower floor can be flat within its intended drainage planes. A nominally level room can contain enough waves and hollows to be unsuitable for large tiles.
This distinction affects both scope and cost. A floor that slopes consistently may need little correction for tile flatness, but its elevations could still conflict with door clearances, cabinetry, or adjoining finishes. Conversely, bringing selected points to the same elevation does not prove that the surface between them is flat.
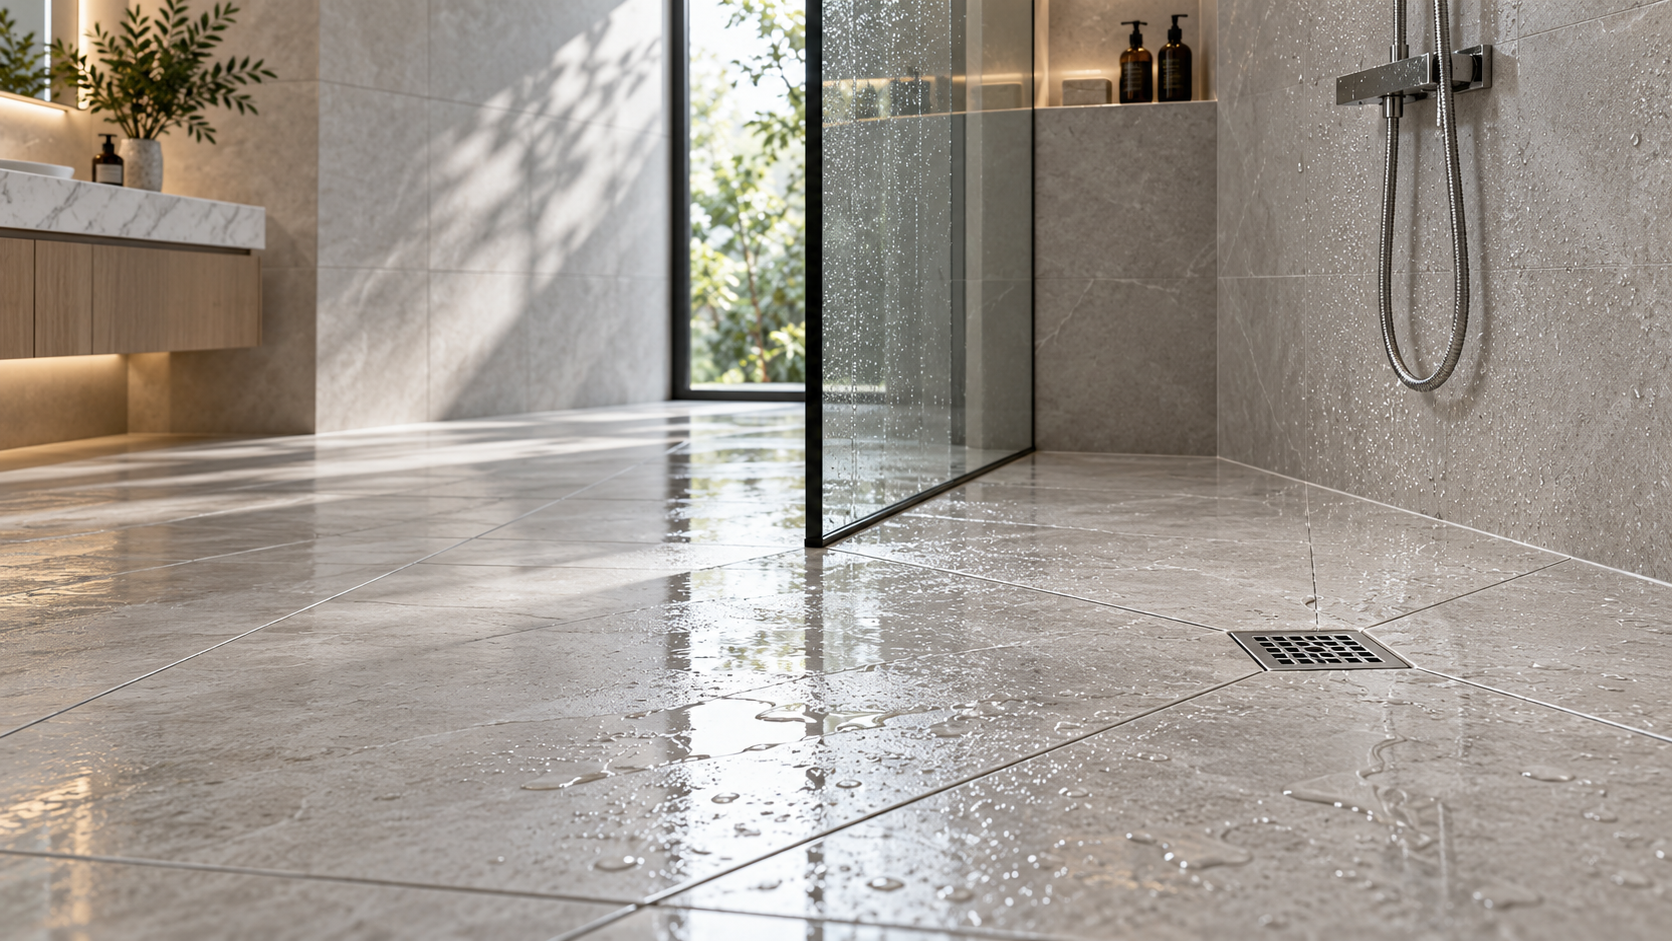
Where drainage is required, preparation must preserve the designed falls and transitions between planes. Pouring a leveling material across such an area without controlling the geometry can undermine drainage. Establish the required surface shape before deciding how to correct it.
Why large tiles expose substrate problems
A large porcelain tile bridges a greater area than a small tile. When it spans a high spot, there may be insufficient space for a consistent mortar bed beneath part of the tile. Over a depression, more mortar is needed to maintain the intended finished plane. Across several tiles, these adjustments become difficult to manage consistently.
The result can include uneven adjacent edges, incomplete mortar support, or repeated lifting and resetting. Unsupported areas can increase vulnerability to damage under concentrated loads. Flatness therefore affects more than appearance: it influences whether the installer can achieve reliable support while keeping the surface aligned.
However, substrate flatness does not by itself guarantee a lippage-free finish. Tile warpage, joint width, layout, workmanship, and lighting also affect how adjacent edges look. Long rectangular tiles may need particular attention to offset patterns because the middle and ends of neighboring tiles can meet at different heights. Review representative tiles and the proposed layout before approving the installation approach.
How to check the floor before tile installation
Inspect after removing debris, adhesive residue, and other material that could distort measurements. A straightedge resting on a small lump of dried compound can make an otherwise acceptable area appear defective.
- Establish elevation constraints. Identify thresholds, adjoining finishes, drains, door clearances, and areas with required slopes. These determine whether correction can raise the floor or must include removing high spots.
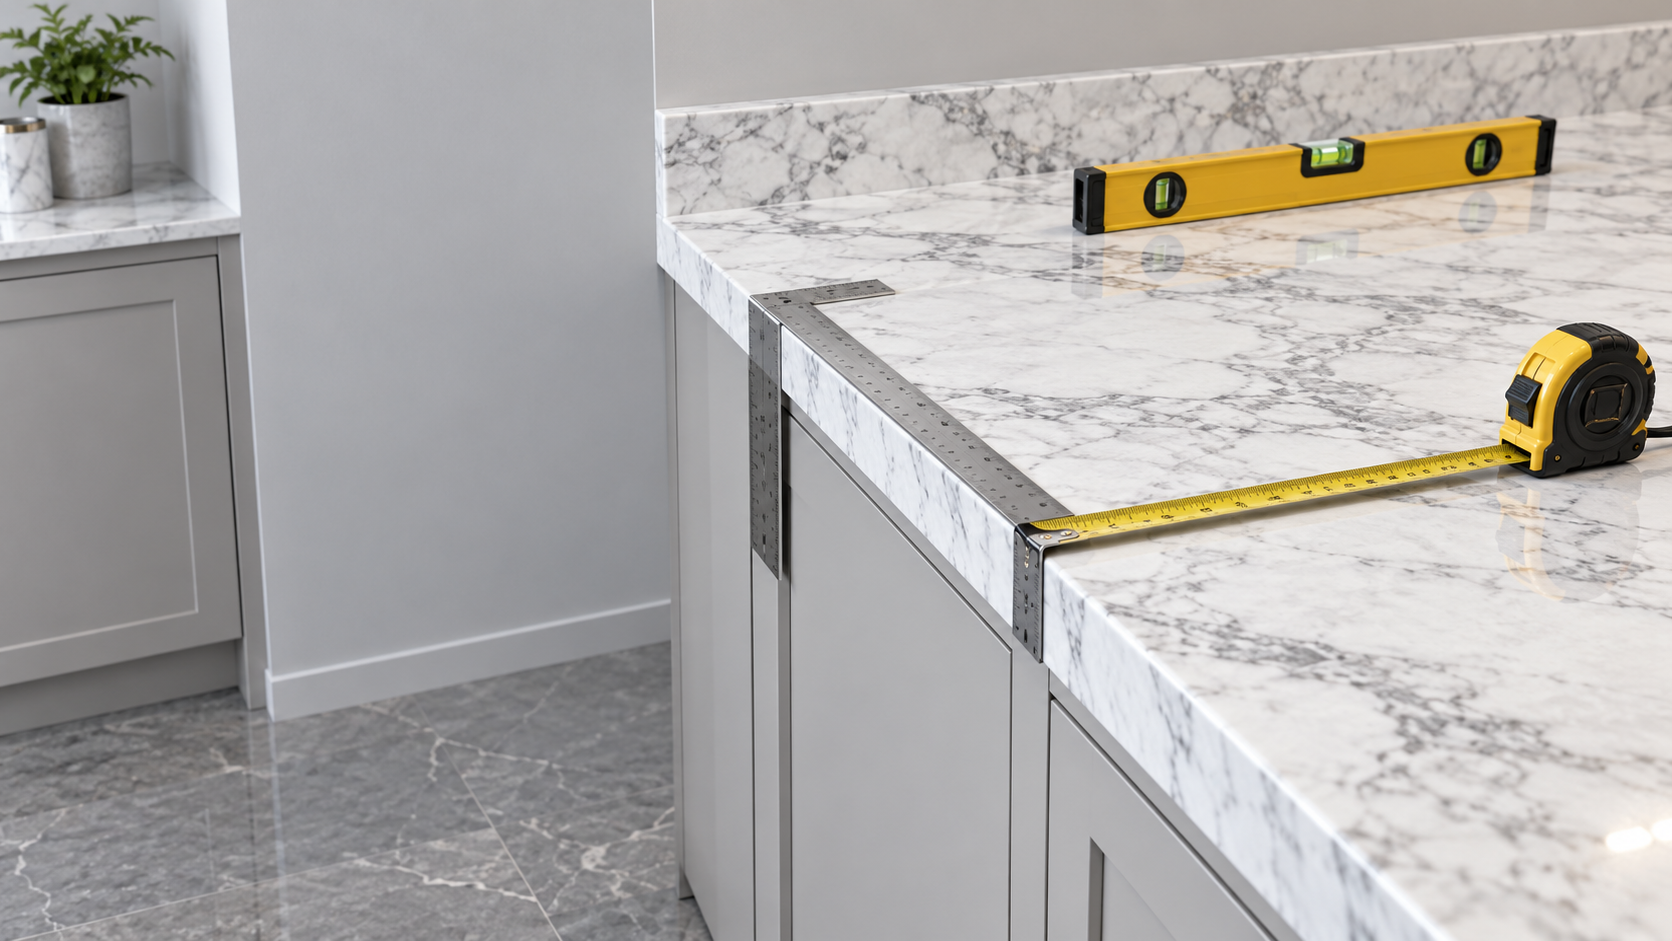
- Check with suitable straightedges. Use a rigid 10-foot straightedge where space permits, together with a 2-foot straightedge for local variations. Check in several directions, including across joints and changes in substrate material.
- Measure rather than estimate gaps. Use an appropriate measuring wedge or feeler gauge. Keep the straightedge supported naturally on high points; pressing it down can conceal the variation being assessed.
- Mark the defects. Identify high areas, low areas, and measured deviations directly on the floor or on a marked plan. A general note saying “floor uneven” gives little basis for pricing or executing repairs.
- Recheck after correction. Include repaired boundaries, corners, and transitions. A patch can fill a depression while leaving a raised edge that creates a new problem.
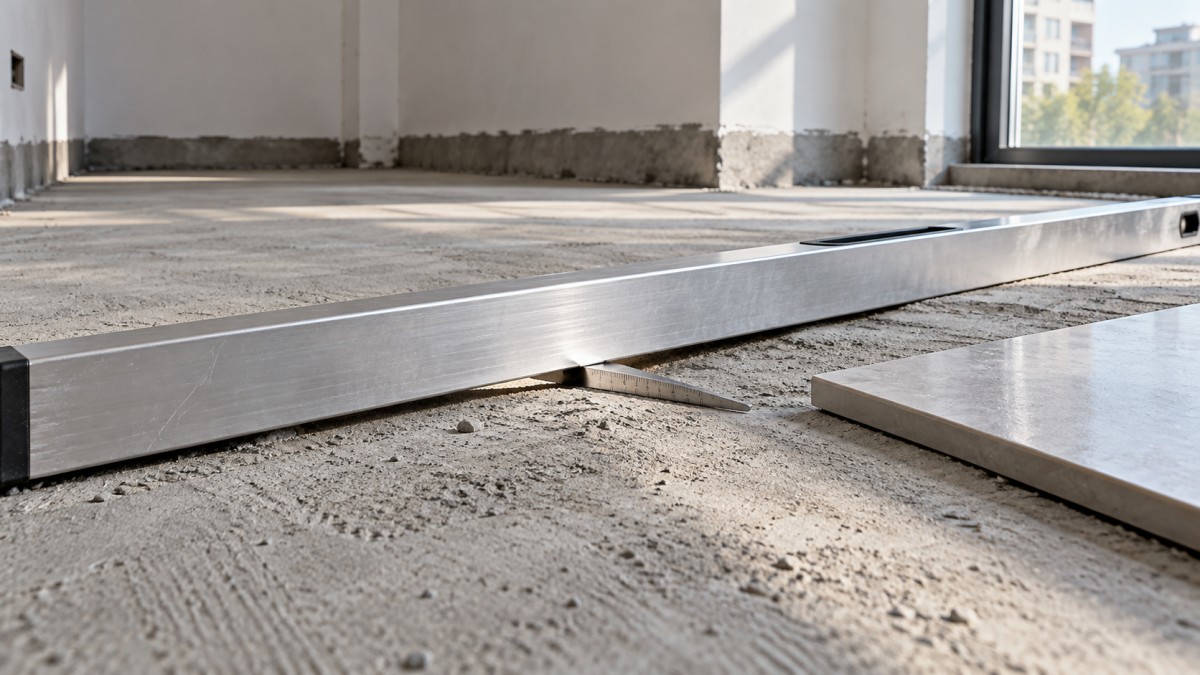
A laser level helps map elevations and understand broad changes across a room. It is useful for planning fill depths and transitions, but isolated laser readings do not replace straightedge checks for short surface irregularities. Similarly, a concrete flatness report does not automatically demonstrate compliance with the tile installation tolerance at every relevant location.
In narrow spaces where a full-length straightedge cannot fit, record that limitation and assess the available spans carefully. Pay particular attention to doorways and corridors, where a small local change can affect several tile edges or a transition profile.
Choose the correction method around the defect
Remove isolated high spots where practical
Grinding can be appropriate for localized concrete ridges or raised areas. Removing a high point may avoid building up a much larger surrounding area, helping preserve finished floor elevations.
The method still depends on the substrate. Grinding requires dust control and an assessment of embedded services, reinforcement, and any restrictions on material removal. Structural concerns, unfamiliar existing materials, or significant movement need assessment before surface preparation proceeds.
Patch localized depressions
A compatible patching or smoothing compound can address individual low spots without treating the entire room. Product selection depends on substrate type, required thickness, edge detail, moisture conditions, and the intended covering system.
The patch must bond to a properly prepared surface. Dust, weak surface material, curing compounds, or old adhesive can interfere with that bond. Follow the preparation and priming requirements for the selected material, then check the repaired area for both the original depression and any new perimeter ridge.
Use a broader resurfacing approach for widespread variation
A self-leveling underlayment may be suitable when irregularities cover much of the floor. It requires planned thicknesses, suitable preparation, perimeter containment, and control around openings and penetrations. The material name does not mean that every pour automatically produces a compliant surface.
Where the floor must retain a slope, a suitable screed or sloping mortar system may be more appropriate. The choice should follow the intended geometry, substrate compatibility, and available floor height. Recheck the result after it becomes ready for inspection and before subsequent layers conceal it.
Why tile mortar and leveling clips cannot replace preparation
Tile-setting mortar has an allowable working thickness and specific application requirements. It should not be treated as an unrestricted floor repair material. Large-and-heavy-tile mortars can support suitable tiles within their specified use, but they do not remove the need for a sufficiently flat substrate.
Correcting major variation while setting tile introduces changing mortar depths and makes coverage harder to judge. An installer may align the visible edges while leaving poorly supported areas underneath. Where separate correction is needed, complete it before tile setting rather than making each tile a new floor-leveling decision.
Leveling clips help control relative edge alignment during installation. They cannot flatten the substrate, remove tile warpage, or confirm mortar coverage. Excessive adjustment can lift a tile away from its support. Coverage checks during installation remain necessary even when the finished surface looks even.
Flatness is only one part of substrate acceptance
A floor can meet the straightedge tolerance and still be unsuitable for porcelain tile. Concrete may have contamination, cracks, moisture conditions, or movement requiring a separate response. A wood floor may be flat but insufficiently stiff for the proposed assembly.
Keep these acceptance questions distinct:
- Surface geometry: Does the receiving surface meet the applicable flatness requirements and intended slopes?
- Structural suitability: Can the supporting assembly carry the installation and anticipated loads without excessive movement?
- Bonding conditions: Is the surface sound, clean, and compatible with the preparation materials, membrane, and mortar?
- Movement accommodation: Have existing joints and required movement provisions been incorporated into the tile design?
Cement backer board generally follows the supporting floor and should not be assumed to correct unevenness. Uncoupling membranes also have substrate requirements; they are not a substitute for flattening. In wet areas, preparation must additionally coordinate with waterproofing and drainage details.
Make the floor preparation scope measurable
Floor preparation becomes easier to price and schedule when acceptance criteria are agreed before installation mobilizes. State the applicable flatness tolerance, the intended inspection stage, who performs corrective work, and who accepts the receiving surface. A visual walk-through alone cannot establish compliance.
Quantify repairs by location, area, and anticipated depth. A few isolated ridges create a different scope from widespread depressions, even if both floors are described as “out of tolerance.” Include the effect of added thickness on thresholds, skirting, fixtures, and accessible transitions.
The schedule should allow for preparation, repair, curing or drying as required by the selected materials, and reinspection. Follow-on trades can damage a corrected surface or leave residues that require additional cleaning, so acceptance should occur close enough to tile installation to reflect actual conditions.
Before releasing an area for installation, retain the marked inspection record and confirm that repairs meet both the long-span and local checks. That provides a practical handover point: the receiving surface has the required geometry, the surrounding elevations work, and the installer can focus on mortar coverage and tile alignment.
Facing technical bottlenecks in manufacturing or looking for more efficient industrial solutions? Leave your details below and let the engineering experts at GIi solve them for you.
“We respect your privacy. Your information is strictly confidential.”
Technical Specifications
- How to verify the consistency of PVC resin from a supplier in EuropeAuthor :Polymers & Rubber Editorial Team
- How to choose polyethylene grades in Saudi Arabia for film productionAuthor :Polymers & Rubber Editorial Team
- US Finds Imported Robots a Security Threat, Defers Tariffs for 180 DaysAuthor :Industrial Machinery Editorial Team
Expert Insights

Chief Security Architect
Dr. Thorne specializes in the intersection of structural engineering and digital resilience. He has advised three G7 governments on industrial infrastructure security.
Core Sector // 01
Security & Safety
- Are slip resistant porcelain tiles suitable for wet bathrooms?Author :Construction Materials Editorial Team

- Are polished porcelain tiles too slippery for bathroom floors?Author :Construction Materials Editorial Team

- How flat should the subfloor be for large format porcelain tiles?Author :Construction Materials Editorial Team

- How to measure for cut-to-size marble before placing an orderAuthor :Construction Materials Editorial Team

- What to verify before placing an order with a ceramic tiles supplierAuthor :Construction Materials Editorial Team

- How to prevent outdoor porcelain tiles from cracking in freeze-thaw conditionsAuthor :Construction Materials Editorial Team

- How to assess quality consistency from a granite exporter in BrazilAuthor :Construction Materials Editorial Team

- Which compliance standards apply to imported granite for building projects?Author :Construction Materials Editorial Team