
How to measure for cut-to-size marble before placing an order
Author
Date Published
Reading Time
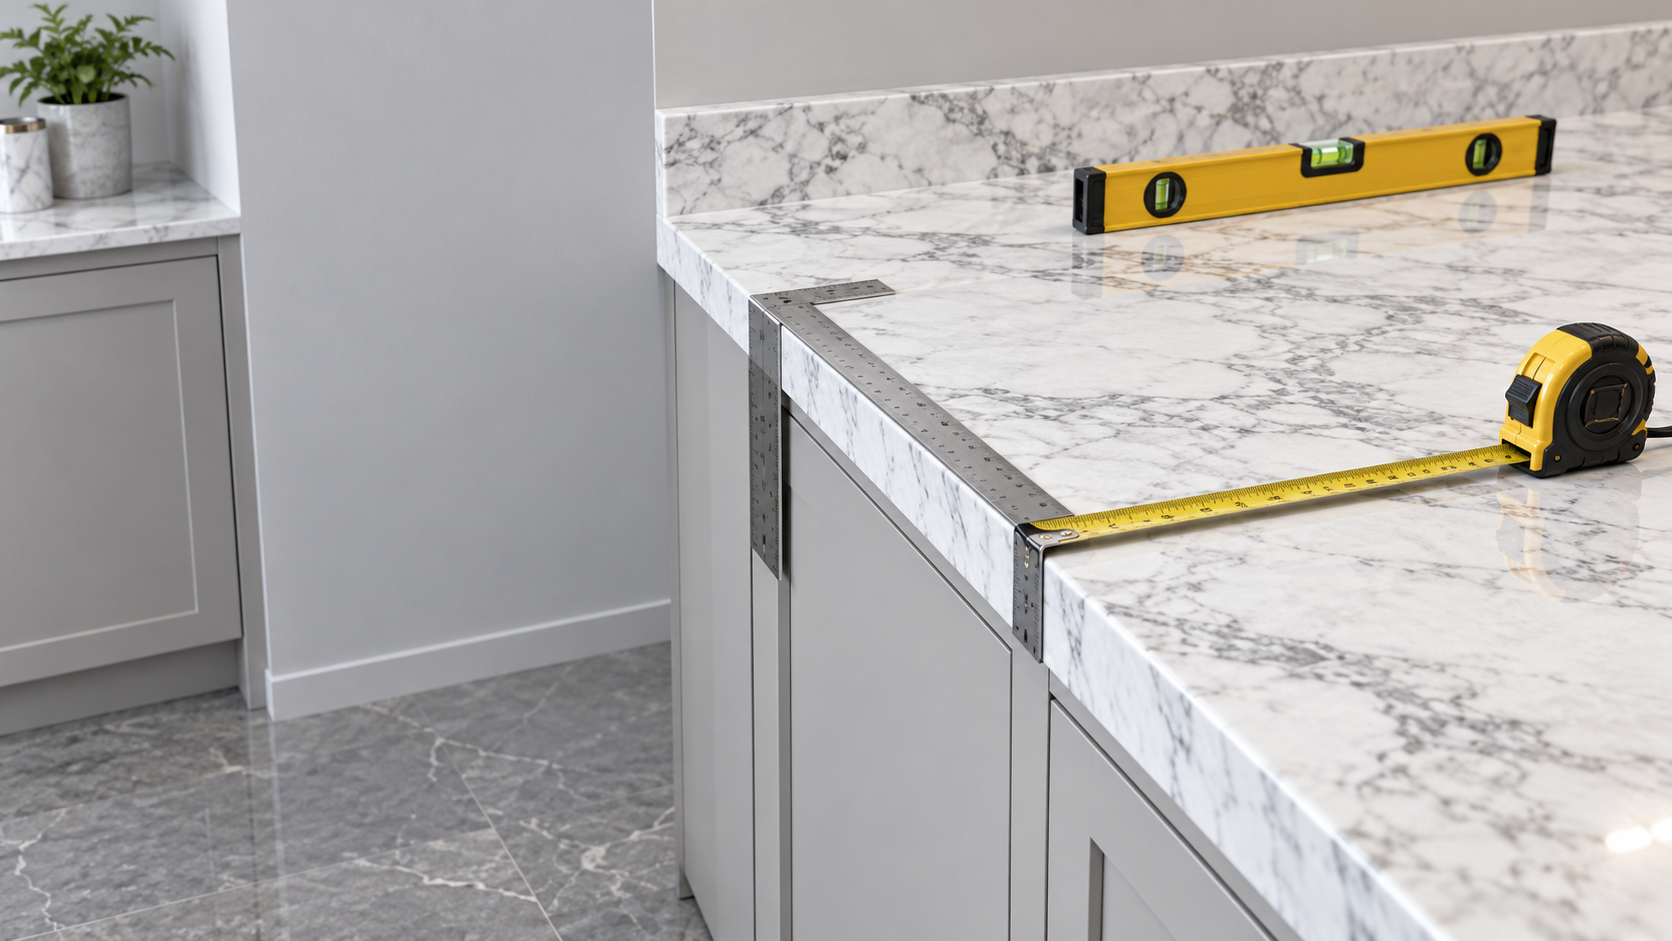
Accurate measurements for cut-to-size marble must describe the finished stone, not just the space where it will be installed. An opening measurement is not automatically a fabrication dimension: joints, perimeter clearances, overhangs, edge profiles and adjacent finishes can all change the required size.
The most important distinction is between dimensions suitable for a quotation and dimensions approved for cutting. Preliminary measurements can establish quantities and approximate costs. Fabrication should proceed only when the relevant site conditions are fixed, allowances are agreed and every piece is defined on an approved drawing or template.
Confirm that the site is ready to measure
Measuring accurately against unfinished or movable construction can still produce an incorrect order. Before taking final dimensions, identify which surfaces determine the stone’s position and whether those surfaces are complete.
For a countertop, cabinets should be installed, secured and checked for level and alignment. For a sill or threshold, the opening, supporting surface and adjoining finishes must be sufficiently established to define the finished fit. For floor or wall pieces, the setting-out grid, substrate condition and intended installation build-up need to be confirmed.
A missing finish matters whenever its thickness changes the available space. Measuring between unfinished walls, for example, does not establish the final opening if plaster, tile or another lining will be added. Either measure after those finishes are installed or explicitly document the agreed build-up and who is responsible for confirming it.
Record the measurement date and the site status. If cabinets are moved, walls are refinished or an appliance specification changes afterward, the affected measurements need to be checked again. A drawing marked “final” should not remain valid simply because the purchase order has already been issued.
Use a fixed reference rather than a chain of measurements
Select a clear reference point, or datum, for each assembly. This might be a cabinet corner, a setting-out line or an agreed finished wall face. Measure piece boundaries, seams and cutout positions from that same reference wherever practical.
Chained measurements can accumulate errors. If a sink position is measured from a seam, and the seam is measured from another piece, an adjustment to either can shift the sink. Coordinates from one defined datum make the intended position easier to check and reproduce.
Use a reliable tape measure for direct dimensions, a straightedge and level for surface checks, and a square for corners. A laser measuring device can help with longer distances, but it does not replace physical checks of short offsets, edge details or irregular corners. Record dimensions in one unit system, preferably millimetres where the fabricator works metrically. Avoid mixing decimal inches, fractions and metric values across drawings.
For an apparently rectangular opening, measure:
- Length along both opposing sides.
- Width at both ends and at intermediate positions where the boundary changes.
- Both diagonals to check whether the shape is consistent with a rectangle.
- Local offsets caused by bowed walls, columns, trims or projections.
Matching diagonals are a useful check, not a complete description of an irregular space. If walls curve or corners are not square, a single length and width cannot represent the required outline. Record the actual geometry or arrange templating.
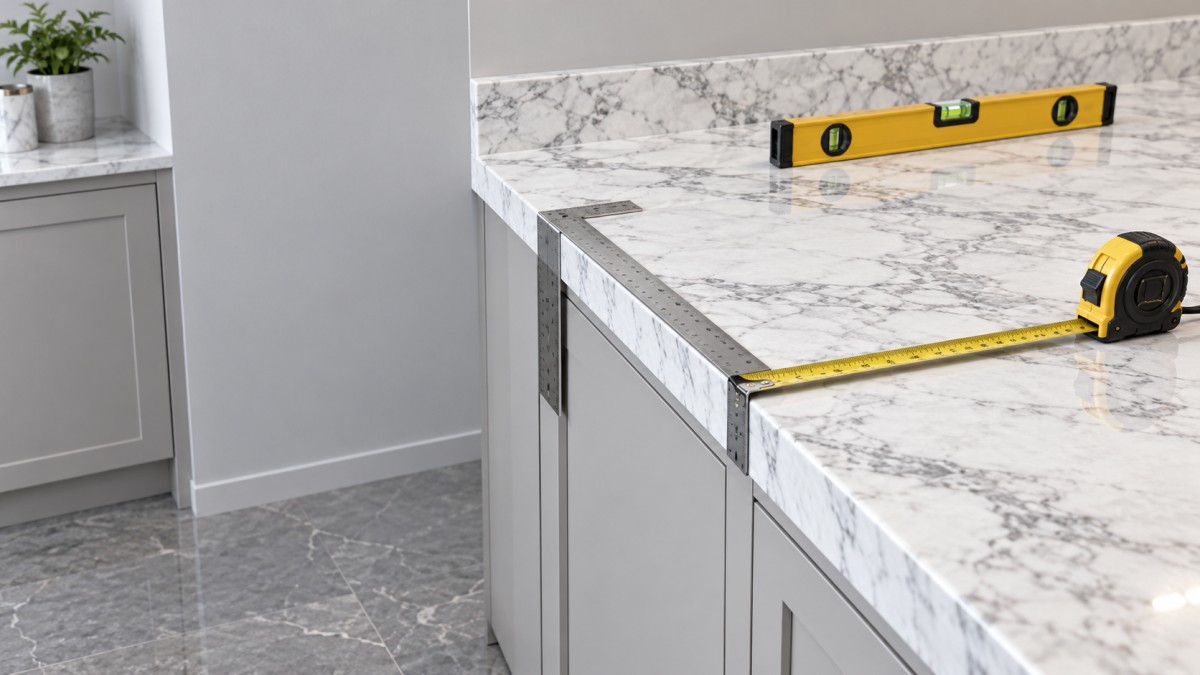
Convert site measurements into finished piece dimensions
Keep measured site dimensions separate from ordered stone dimensions. The drawing should make clear which values describe the available opening and which describe the finished marble after cutting and edge finishing.
For a simple piece enclosed on two sides, the dimensional relationship is:
Finished stone dimension = measured finished opening − agreed clearances at both boundaries.
For a surface projecting beyond its support, the relationship instead includes the specified overhang. Measure that projection from a defined face—such as the cabinet carcass or finished door front—not from an unspecified “cabinet edge.” Those reference faces are not interchangeable.
Consider an illustrative opening measuring 1,200 mm between completed boundaries. If the approved detail requires 3 mm clearance at each end, the ordered piece would be 1,194 mm long. The 3 mm figure is an example, not a universal recommendation. Actual clearances depend on the assembly, installation method, joint treatment and applicable project requirements.
Do not deduct a general allowance from every dimension. A visible front edge, a wall-facing edge and an edge meeting another stone piece have different functions. Each needs its own detail. Likewise, adhesive or mortar build-up affects finished elevation and assembly depth; it should not be subtracted from plan dimensions without a specific reason.
Resolve joints before dividing the stone into pieces
When several marble pieces share a fixed overall span, joint widths are part of the dimensional calculation. Dividing the opening by the number of pieces without allowing for joints produces an assembly that is too large.
For illustration, a 3,000 mm finished span containing three pieces, two 2 mm internal joints and 3 mm clearance at each end leaves 2,990 mm for the combined stone lengths. That does not mean the pieces should be equal. Their individual lengths still depend on seam positions, support conditions, handling constraints and the intended appearance.
Mark every joint on the layout and distinguish an ordinary joint between pieces from a movement joint required by the installation design. Movement provisions should be coordinated with the substrate and project specification, not replaced by a narrow cosmetic seam.
Joint positions also affect fabrication and installation feasibility. A seam close to a cutout can leave a vulnerable strip of marble; a large one-piece section may be difficult to carry through the building. Confirm access routes, turning space and lifting arrangements before approving dimensions that assume uninterrupted pieces.
Specify thickness and edges as part of the geometry
Nominal slab thickness alone does not fully define an installed assembly. Confirm the required stone thickness, acceptable variation, finished top elevation and any features that increase the visible edge depth.
A built-up edge can look thicker than the slab itself. A mitred apron can extend below the top and interfere with cabinet doors, drawers or appliance clearances. Show these details in section rather than relying on a description such as “thick edge.”
Identify each edge as exposed, wall-facing, jointed or concealed. State which edges require polishing or profiling and show any radius, chamfer, groove, rebate or drip detail that changes the finished geometry. Confirm whether a stated radius refers to the plan-view corner or the edge profile.
Overhang dimensions must also be coordinated with support. Marble thickness, cutouts, veining, fissures and the support arrangement affect what can be safely fabricated and installed. Do not infer an acceptable unsupported projection from appearance alone; obtain the fabricator’s assessment and the project’s required support detail.
Locate cutouts from verified equipment information
Sink and appliance openings should be based on the exact selected model and its current installation information. A product’s external dimensions are not necessarily its cutout dimensions. Nominal descriptions such as “600 mm sink” are insufficient for fabrication.
For each opening, document:
- The equipment manufacturer, model and relevant drawing or template revision.
- The opening shape, dimensions and corner radii.
- Its position from the agreed datum, with orientation clearly shown.
- The mounting arrangement and any required reveal, rebate or edge finish.
- Clearances for clips, taps, accessories, services and equipment below the stone.
An undermount sink requires agreement on how the marble edge relates to the sink rim. A flush-mounted component may require a recess as well as a through-opening. These are different fabrication instructions, even when the equipment occupies a similar area.
Cross-check cutouts against the space below. An opening can fit within the countertop outline while the sink bowl collides with a cabinet rail or the fixing clips cannot be installed. Tap holes also need sufficient clearance from backsplashes and walls for operation and installation.
The remaining stone around an opening matters as much as the opening itself. Ask the fabricator to review narrow webs, nearby seams and corner geometry before cutting. Where final equipment information is unavailable, hold the affected opening rather than substitute an assumed size.
Decide whether dimensions are enough or a template is needed
A dimensioned drawing can be sufficient for a simple rectangular piece fitted into a verified opening. Professional templating is advisable when the shape contains irregular walls, angled intersections, curved edges, multiple linked surfaces or tightly coordinated cutouts.
A physical template captures the perimeter directly. Digital templating records site geometry for conversion into fabrication data. Neither method automatically resolves missing design decisions: overhangs, seam positions, edge profiles and mounting details still need approval.
Clarify whether the template represents the measured site boundary or the finished stone outline with allowances already applied. Without that distinction, a clearance can be deducted twice—or not deducted at all.
Templating should occur after the relevant supports and boundaries are fixed. The resulting drawing should still be reviewed for orientation, piece identification and equipment compatibility. A precise template of an unfinished installation is not a reliable basis for final fabrication.
Agree tolerances without using them to conceal uncertainty
Site measurement uncertainty, fabrication tolerance and installation adjustment are separate issues. A cutting tolerance defines acceptable variation around a specified dimension; it does not compensate for an unclear opening measurement.
Agree the relevant acceptance criteria with the fabricator before releasing the order. These may include finished length and width, thickness, squareness, cutout position, edge geometry and the relationship between adjoining pieces. The required precision should reflect the application and the actual fabrication capability.
Check the fit at the tolerance limits, not only at the nominal dimension. If an enclosed piece is produced at its largest permitted size, will the planned clearance remain sufficient? If adjoining pieces reach opposite ends of their tolerances, will the joint and visible alignment still be acceptable?
Avoid specifying every feature with unnecessarily tight limits. Prioritize dimensions that control fit, equipment compatibility and visible alignment, and establish where adjustment is intentionally available.
Release fabrication against one controlled drawing set
The order package should contain a dimensioned layout, necessary sections, a piece schedule and supporting photographs. Give each piece a unique identifier tied to its location. Mark the finished face, front edge and orientation so that asymmetric pieces cannot be interpreted as mirror images.
Photographs help explain site conditions, but dimensions should remain on drawings rather than be inferred from images. Vein direction and any required continuity across adjoining pieces should also be recorded before the cutting layout is approved.
Separate drawings issued for pricing from drawings approved for fabrication. The release record should identify the revision, approval date and unresolved items, with affected pieces held until those items are settled. Written approval should establish who has verified the site dimensions and who has checked fabrication feasibility.
For a cut to size marble order, the decisive check is whether another person can reproduce the intended piece without guessing. Every boundary, allowance, edge, opening and orientation should have an explicit meaning. If the fabricator still needs to assume whether a dimension describes the opening or the finished stone, the order is not ready to cut.
Technical Specifications
- How to fix sliding doors and windows that are difficult to openAuthor :Construction Materials Editorial Team
- Which resin types suit composite parts exposed to high temperatures?Author :Chemical Industry Editorial Team
- Is a higher DC power supply price justified by lower ripple?Author :Electrical Components Editorial Team
Expert Insights

Chief Security Architect
Dr. Thorne specializes in the intersection of structural engineering and digital resilience. He has advised three G7 governments on industrial infrastructure security.
Core Sector // 01
Security & Safety
- How to measure for cut-to-size marble before placing an orderAuthor :Construction Materials Editorial Team

- What to verify before placing an order with a ceramic tiles supplierAuthor :Construction Materials Editorial Team

- How to prevent outdoor porcelain tiles from cracking in freeze-thaw conditionsAuthor :Construction Materials Editorial Team

- How to assess quality consistency from a granite exporter in BrazilAuthor :Construction Materials Editorial Team

- Which compliance standards apply to imported granite for building projects?Author :Construction Materials Editorial Team

- How to choose ceramic tiles for bathroom floors with better slip resistanceAuthor :Construction Materials Editorial Team

- When are porcelain wall tiles the right choice for shower walls?Author :Construction Materials Editorial Team

- How to choose porcelain floor tiles for high-traffic areasAuthor :Construction Materials Editorial Team