How to Check Moisture Conditions Before Installing Wood Flooring
Author
Date Published
Reading Time
Why is moisture testing the first real checkpoint before wood flooring installation?
Moisture is one of the most common reasons wood flooring fails after handover. Boards can cup, gap, crown, or loosen when site conditions are ignored.
That is why moisture checks are not a paperwork exercise. They directly affect schedule control, adhesive performance, warranty exposure, and rework costs.
In practical terms, wood flooring reacts to the jobsite around it. Concrete slabs release moisture, HVAC timing changes indoor humidity, and delivered planks keep adjusting until conditions stabilize.
For cross-border projects, this matters even more. Shipping time, seasonal climate differences, and local compliance standards can all shift the installation window.
What exactly should be checked before the wood flooring arrives on site?
The first question is not about the boards alone. It is about the full moisture relationship between subfloor, ambient air, and the wood flooring product.
A reliable pre-installation check usually includes these points:
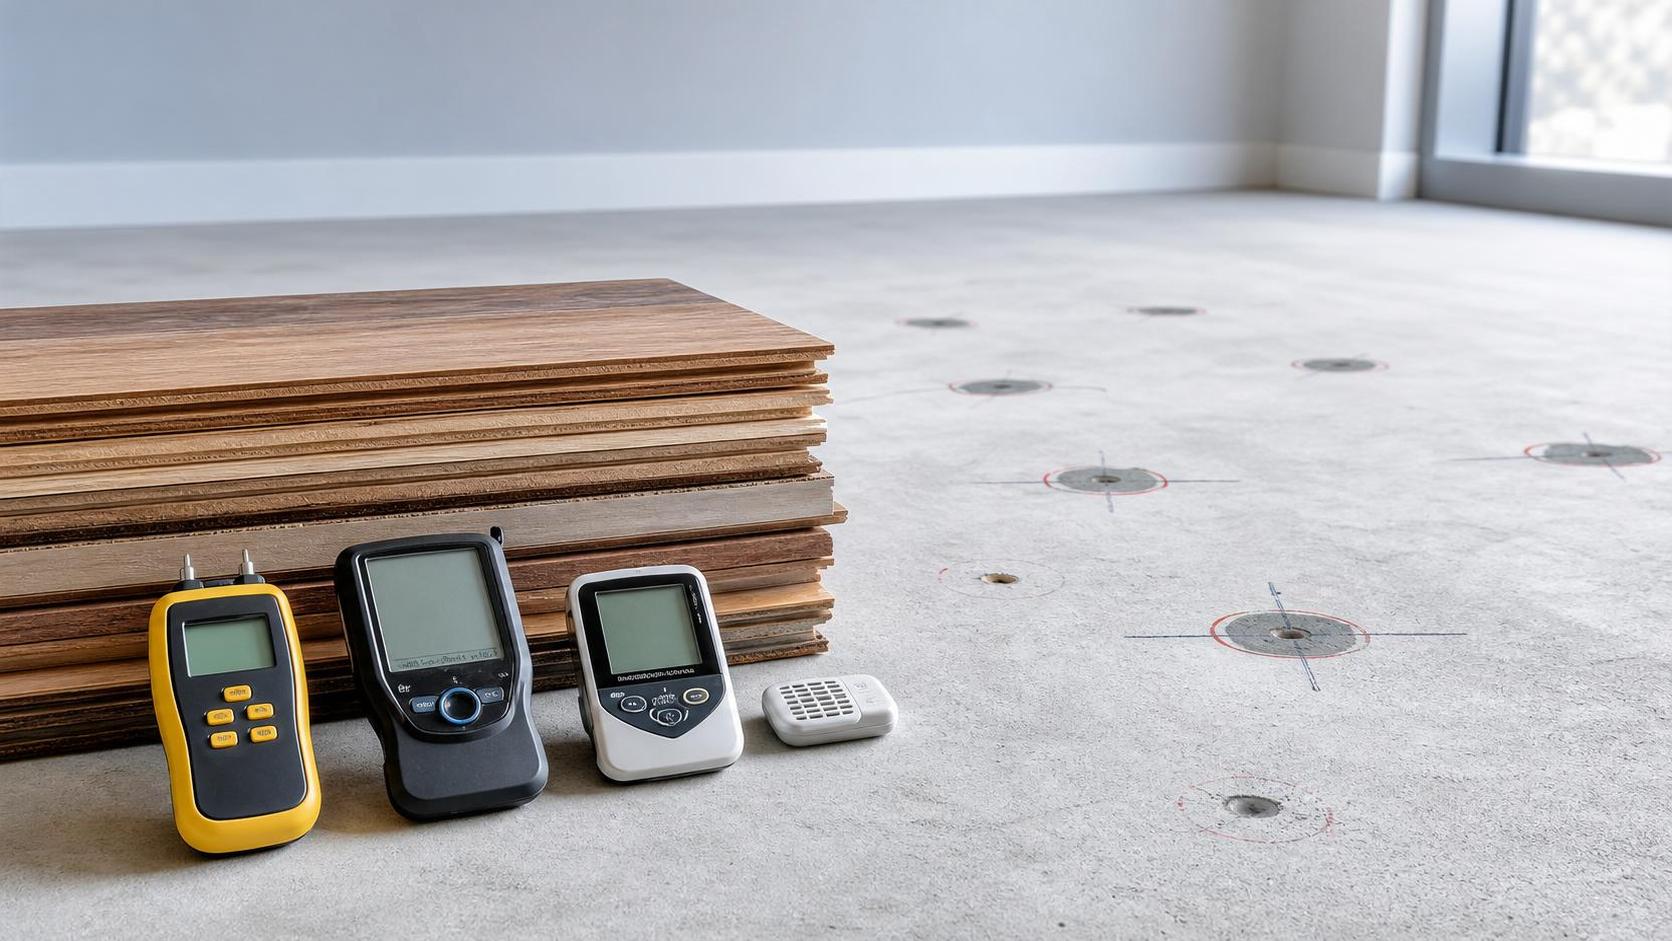
- Concrete slab moisture condition or wood subfloor moisture content
- Indoor temperature and relative humidity over several days
- Moisture content of the delivered wood flooring
- Whether the building is enclosed and HVAC is operating normally
- Manufacturer limits for acclimation, adhesive, and underlayment use
More common mistakes happen when only one reading is taken. A single number rarely explains actual site readiness.
A better approach is to document readings by room, date, and substrate type. That record also helps when installation disputes appear later.
Which tools make sense, and when should each one be used?
Different materials need different test methods. Using the wrong tool can create false confidence and push a project into avoidable risk.
The key is matching the method to the material and to the specified wood flooring system. Standards, adhesive instructions, and local project documents should align.
How dry is dry enough for wood flooring installation?
There is no universal number that fits every project. Species, board width, engineered versus solid construction, and subfloor type all change the answer.
What matters most is the acceptable range stated by the wood flooring manufacturer, plus the site standard referenced in the contract documents.
In actual application, two comparisons are especially useful:
- Wood flooring moisture content compared with the wood subfloor
- Ambient indoor conditions compared with the expected in-service conditions
If the building is still wet from plaster, paint, or concrete curing, the numbers may keep drifting. In that case, waiting is often cheaper than repairing a failed floor.
This is also where schedule pressure creates mistakes. Fast-tracking installation before moisture equilibrium is reached can erase any earlier time savings.
Where do projects usually go wrong, even when someone says the floor was tested?
Most failures are not caused by having no data. They come from incomplete data, poor timing, or readings taken without context.
Typical trouble spots include:
- Testing only once, right before installation
- Ignoring slab areas near doors, wet zones, or ground-level transitions
- Skipping acclimation because the cartons “look normal”
- Running HVAC after installation instead of before it
- Using adhesives without checking moisture limits or vapor control requirements
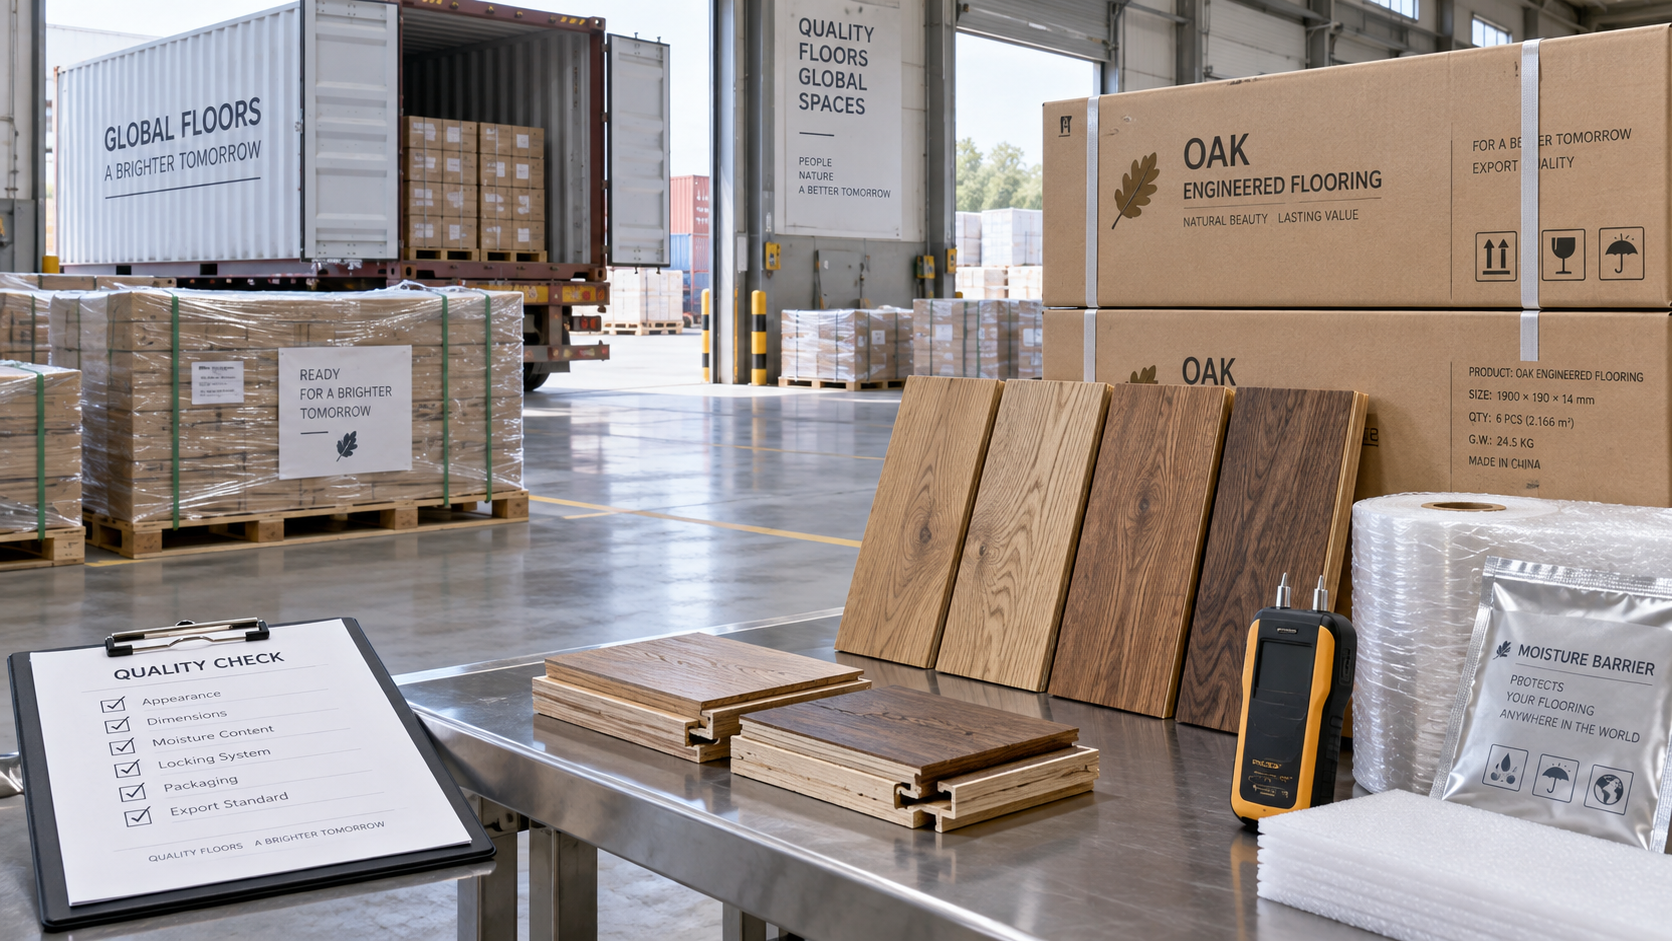
Another overlooked issue is logistics. Imported wood flooring may arrive with different moisture content than locally stocked material because of container conditions and transit delays.
That is why sourcing decisions and installation planning should not be separated. Material origin, lead time, and seasonal delivery windows influence moisture risk.
What is the smartest checklist before giving installation approval?
A short approval checklist often works better than a long technical memo. It keeps the team focused on decisions that affect performance.
If one checkpoint is unresolved, installation approval should pause. That decision usually protects both cost and credibility.
What should happen next if readings are borderline or inconsistent?
Borderline readings do not always mean rejection, but they do require a controlled response. The next step is to identify whether the problem is temporary or structural.
Recheck the affected rooms, review HVAC operation, confirm recent wet trades, and compare results with manufacturer tolerances. If needed, adjust sequencing or add moisture mitigation measures.
The most practical takeaway is simple. Do not treat wood flooring moisture checks as a final box to tick. Treat them as an early decision gate that protects finish quality, delivery timing, and downstream cost.
When planning the next installation, build a site moisture checklist, align it with supplier documentation, and verify local standards before materials are released for laying.
Technical Specifications
- How to test melt flow consistency in batches of recycled plasticsAuthor :Polymers & Rubber Editorial Team
- When does a cast resin transformer need high-altitude derating?Author :Electrical Components Editorial Team
- How to verify Global Industrial Insights sourcing informationAuthor :Industrial Machinery Editorial Team
Expert Insights

Chief Security Architect
Dr. Thorne specializes in the intersection of structural engineering and digital resilience. He has advised three G7 governments on industrial infrastructure security.
Core Sector // 01
Security & Safety
- Is solid wood flooring suitable for kitchens with changing humidity?Author :Construction Materials Editorial Team

- Does E1 laminate flooring meet low-emission needs for bedrooms?Author :Construction Materials Editorial Team

- Which flooring materials hold up best in high-traffic commercial spaces?Author :Construction Materials Editorial Team

- What Should Buyers Check Before Importing Wood Flooring?Author :Construction Materials Editorial Team

- Is Demand for Imported Wood Flooring Growing in Europe?Author :Construction Materials Editorial Team

- Laminate Flooring vs Wood Flooring: Which Option Fits Rental Renovations?Author :Construction Materials Editorial Team

- How to Choose Laminate Flooring Wear Ratings for High-Traffic Commercial AreasAuthor :Construction Materials Editorial Team

- Engineered Wood Flooring vs Solid Wood Flooring: Pros, Limits, and Best UsesAuthor :Construction Materials Editorial Team